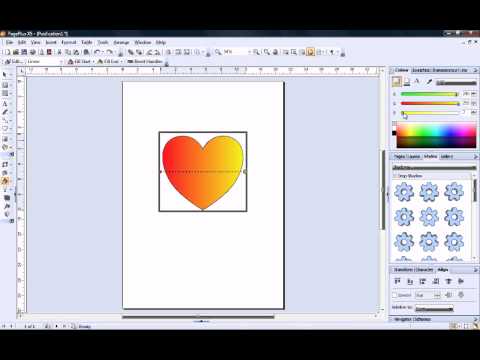
In this tutorial, we're going to look at applying and editing gradient fills with the fill tool. I've drawn a quick shape on my page, and you can see that it's filled with a solid red fill. To quickly change the color of the fill, I can go to the swatches tab and just click on one of the swatches. Alternatively, I can go to the color tab and click in the spectrum, drag the sliders, or type values directly into the input es. Whichever method I choose, my fill is always solid. Now, suppose I want to apply a fill that changes from one color to another. This type of fill is known as a gradient fill. In Page Plus, you can apply a gradient fill using the fill tool. Before you can apply a gradient fill, you need to select the object to which you want to apply the fill. I already have my shape selected, so now, over on the left toolbar, I select the fill tool. When you select any tool, the context toolbar at the top of the workspace immediately updates to display various attributes and settings specific to the tool. So, for the fill tool, you can see that one of the options provided is a fill type drop-down list. I'm going to start by selecting a simple linear fill. As soon as I select my fill type, the solid red fill changes to a red-to-white gradient fill. This horizontal line that you can see running across my shape is known as the fill path. At each end of the fill path, there's a small point or node. You can see that the color of this one is red, and the color of this one is white, corresponding to the start and end colors of the gradient...
Award-winning PDF software


Seirfs Form: What You Should Know
Sans serifed letter forms — The following letters are serifs: A-Z, a-z, A-Z, 0-9, 0-9, A-o, a-o, A-U, a, a-u, 0-9, 0-9 Serifed typeface — Wikipedia Serif typeface (or serifed typeface), also known as serif typeface or serifed type, is a typeface or a serif font that has serifs between the letters: serif, sans serif, Gothic. The form of these serifs varies, with serifs at the end of letters, serifs at the leading strokes, or serifs at the leading strokes and trailing letters. Sonic — Wikipedia In this system of typeface naming, a sound is represented by four distinct letters, a tier is represented by three distinct letters, a tail by two distinct letters, a bump is represented by one distinct letter. The letters in the system are based on the consonants in the French alphabet. Sonic is a set of two related typefaces — called Synecdoche and Synecdoche/Savant Garden — which are based on the letters of the Latin alphabet. Each of these typefaces has a distinctive, self-contained shape and set of stylistic choices. For example, the Synecdoche typeface has a rounded stem, has a narrower letter width and has a more open x-height. Synecdoche — Wikipedia Synecdoche is a system of two typefaces made by the British company R.T. Bell & Sons. It has a distinctive look: The lowercase letters resemble those of the Latin alphabet. The uppercase letters are a combination that are familiar to many English speakers from American English. R.T. Bell & Sons — Wikipedia An example of a typeface with a distinct shape is called a “tear” typeface. The lowercase letters are similar to those of the Latin alphabet, but the lowercase italic letters are not as distinctive as the Latin uppercase letters.
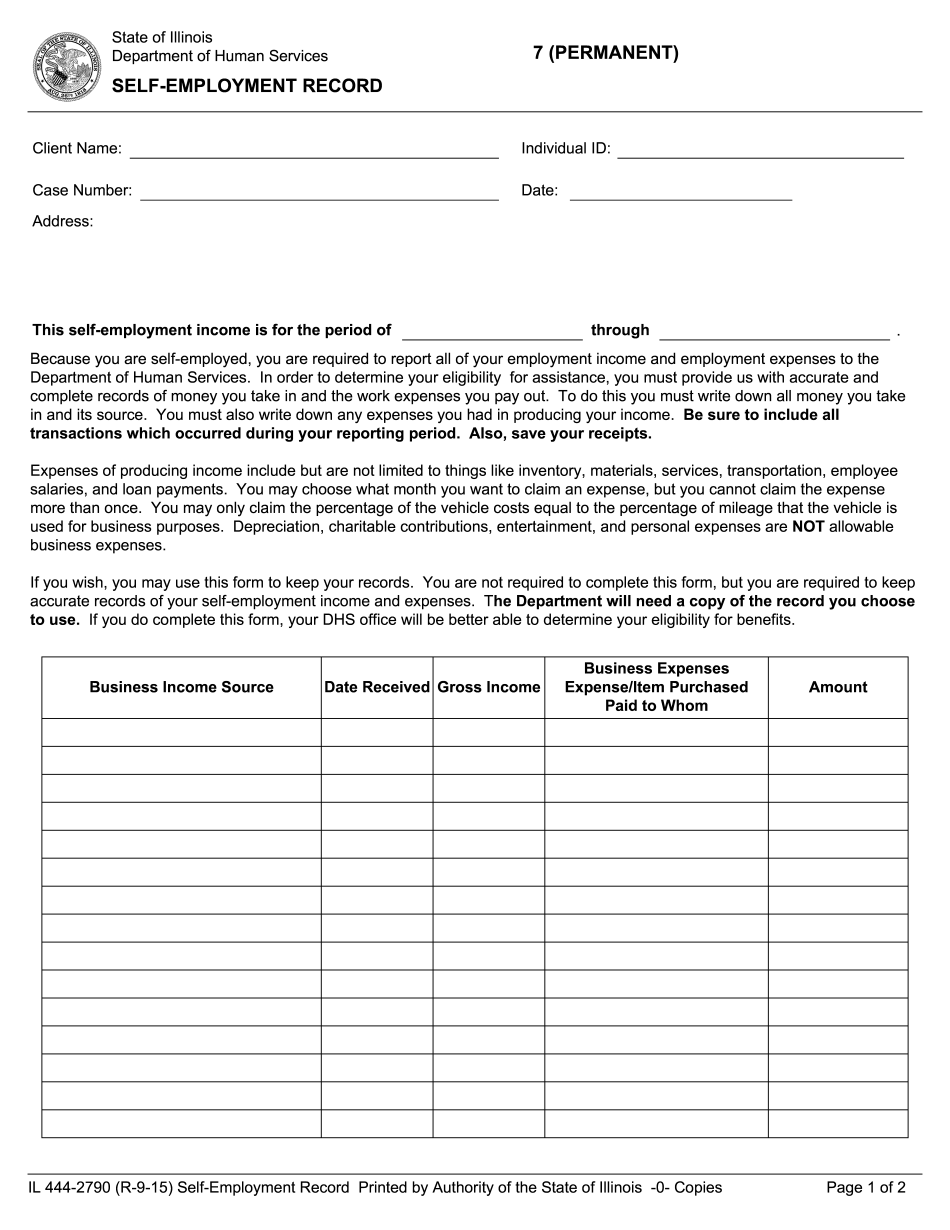
online solutions help you to manage your record administration along with raise the efficiency of the workflows. Stick to the fast guide to do Il 444-2790, steer clear of blunders along with furnish it in a timely manner:
How to complete any Il 444-2790 online: - On the site with all the document, click on Begin immediately along with complete for the editor.
- Use your indications to submit established track record areas.
- Add your own info and speak to data.
- Make sure that you enter correct details and numbers throughout suitable areas.
- Very carefully confirm the content of the form as well as grammar along with punctuational.
- Navigate to Support area when you have questions or perhaps handle our assistance team.
- Place an electronic digital unique in your Il 444-2790 by using Sign Device.
- After the form is fully gone, media Completed.
- Deliver the particular prepared document by way of electronic mail or facsimile, art print it out or perhaps reduce the gadget.
PDF editor permits you to help make changes to your Il 444-2790 from the internet connected gadget, personalize it based on your requirements, indicator this in electronic format and also disperse differently.
Video instructions and help with filling out and completing Seirfs